Sunday, May 29, 2011

Fairfield Ceilings

This is the start of some of my ceilings for the Fairfield. I really love all the detail that is going into this house. Below is the work I have been doing on the dining room ceiling. I made a grid on the ceiling and then took different widths of balsa wood to create the depth or vaulted ceiling look. I also took a jewelry finding and painted it to create the ceiling medallion.

Dining Room Ceiling

The next picture shows the ceiling painted. Once the house is assembled I will add the final molding to the outer edge.

Painted Ceiling

The next ceiling I have been working on is the parlor ceiling. I decided to paper this ceiling as many Victorian homes had this look. I also used another one of the jewelry findings as a center medallion. I will be adding other molding to the ceiling and then final crown molding once the house is together. Below is a picture of what I have done with it so far. I have not glued the medallion in place yet.

Parlor Ceiling the beginning

The other ceiling I have been thinking about is the kitchen ceiling. On this one I want to make it look like a tin ceiling. I found a plastic houseworks embossed sheet with a small design. I plan on using cooper paint to paint it to look like a tin ceiling.

"Tin Ceiling"
The last ceilings, bedroom, library, hallways, and bathroom will be decorated using an embossed ceiling paper in half inch scale.

Monday, May 23, 2011

Four Fireplaces for the Fairfield

The Fairfield has four fireplaces! I have been doing some work on them. I plan on having all four working. I have bought the flickering kit for them as well. For the inserts I bought the phoenix model arched fireplace.
Fireplace Kit
The kit above come unpainted. I have painted the kit black. I had to do a modification the the fireplace insert on the Fairfield. The fireplace openings are square and the kits I bought are arched so I took a scrap piece of the wood and created a filler see picture below.
Filler arch
I also added some "bricks" to the fireplace. The "bricks" are a latex sheet that can be cut to size. The lights in the picture aren't really going to be upside down LOL. I'm using the fireplace to hide the wires. The lights will be sitting the right way up on the mantel. The mantels for the fireplace I made myself. I made 2 walnut ones and 2 painted ones.
Painted Mantel

Walnut mantel
For the mantels I used some 1" scale components and molding. I stained 2 of them using the same stain I used for the staircase treads, the other 2 I painted the same paint that I used on the staircase. The picture below shows how the whole fireplace will look once its together.
Sample of how things will look     
I really like how this gives a dimensional look to the fireplaces. I still have a lot to do! I have four fireplaces to work on! Now for more painting, wallpapering, and gluing LOL.

Sunday, May 22, 2011

Beginning the wallpapering...

The scale of this house makes it a challenge to wallpaper. I figured that it will be best to do as much wallpapering as possible before I assemble the house. I sealed my wallpaper with Mod Podge before I installed it. Mod Podge will help to stop the paper from fading over time. It also makes the paper look more like real wallpaper.

Start of wallpapering
Walls placed but not glued yet

Friday, May 20, 2011

Windows for the Fairfield

I purchased houseworks windows for my Fairfield. The windows needed some modification as I explain below.
Traditional non-working window
The houseworks windows are quite thick as compared to the plywood walls of the house. Even when I add the siding to the exterior the windows will stick into the house and will not be flush with the walls. To remedy this I decided to sand down the windows to the depth that I needed. This was time consuming but worth it to have the windows flush. Now the interior molding will sit nicely and finish the windows off on the inside of the house. Since I'm going with the Victorian theme I could just leave the windows this plain......

Modification of the houseworks windows
Plain Window Primed
Added Mullions

I took the mullions that came with the windows and I used them to create the look I was going for. The small pieces were a challenge to cut and glue! I had 10 windows to do this too! Once assembled I gave them a final coat of paint.
Window with Mullions
Completed Window

Thursday, May 19, 2011

Modifed Staircase

In the directions for the assembly of the Farifield after the foundation is put together its time to work on the staircase. The stairs that come with the kit were not my favorite. No matter how much sanding I did they just weren't up to par. So I adapted a set of houseworks stairs.

Step 1: Cut the stairs to match the width of the original stairs.
Staircase cut down to correct width

In the picture above you can also see that I added a piece at the bottom to create more of a base for the stairs.

Step 2: Adding the base. I just cut 2 triangular pieces of balsa wood and glued them to the bottom.
Triangular pieces added
Step 3: Custom make all of the stair treads. The bottom 4 stair treads are a little wider than the stairs. I did this so that I can have a banister on the bottom part of the stairs. As the stairs go up they are sandwiched between the walls of the house, the treads on the higher steps need to be the same width as the staircase. I used balsa for the treads. I painted the staircase and I stained the treads in walnut. I added a little half round molding to the staircase base just to dress it up a bit.
Front view

Staircase base detail


Completed Staircase


Wednesday, May 18, 2011

Wallpaper, Flooring, Exterior Paint Choices

I have made some decisions on my wallpaper. Sticking with the Victorian theme below is a sample of some of the papers I have chosen.
Brodnax Prints
I have also decided to do Walnut hardwood floors throughout the Fairfield. Houseworks makes a 1/2" scale wood floor backed on paper that is super easy to install. All you have to do is cut it to fit and add a clear satin varnish.
Houseworks Flooring
I have also decided on the exterior paint colors. Doing some research I was able to find historic Victorian paint colors. The hardware store will mix paint samples and they are a decent price. The paint samples are more than enough to paint a half scale dollhouse.
Historic Paint Colors

Tuesday, May 17, 2011

Foundation work

The foundation of the Fairfield went together fairly easily. I wanted to add something to the foundation to make it look more realistic. I found some resin wall pieces that are actually 1" scale field stone walls. Cut down and applied to my Fairfield they make a perfect 1/2" scale rock foundation. Adapting 1" scale items for 1/2" scale items really takes some imagination but I think that this really works.
"Field stone" wall before being cut to size

Foundation work
The walls and siding will come down to meet the "rock" foundation. As you can also see in the picture I have chosen some lattice that I'm going to use on the porch part of the foundation. I think I will leave it as natural wood instead of painting it. I may stain it...the jury is still out on it.

Monday, May 16, 2011

Design decisions...

Much thought is going into the designing phase of this project. My first biggest decision was whether or not I should electrify my house. I love the way that lighting makes it even more special and detailed. I did a lot of back and forth on tape wire verses round wire. In other 1" scale houses that I've done I have used the tape wire. Tape wire is easy to use but I have had trouble with it bumping up under my wallpaper. I'm a bit of a perfectionist! So my final decision is round wire. In the Fairfield the fireplace cavity is open right through the middle of the house. I'm going to use this to hide the wires.
Going with the Victorian feel I have purchased the following lights for my house:
1 Brass Carriage Lamp - for the exterior by the front door
5 Candlestick Lights - for the fireplace mantels (2 for parlor fireplace, 2 for dining room fireplace, and 1 for the bedroom fireplace)
5 Frosted Shade Oil Lamps (1 for parlor, 1 for entry hall, 1 for library, 1 for bedroom, and 1 for upstairs hall way)
1 Picture Lamp - for the library (above the fireplace with a picture below it)
2 Hex-shade Sconces - for the library (either side of the fireplace)
1 Round Globe Wall Sconce - for the bathroom
1 Six Candle Chandelier - for the dining room
1 Four Candle Chandelier - for the kitchen
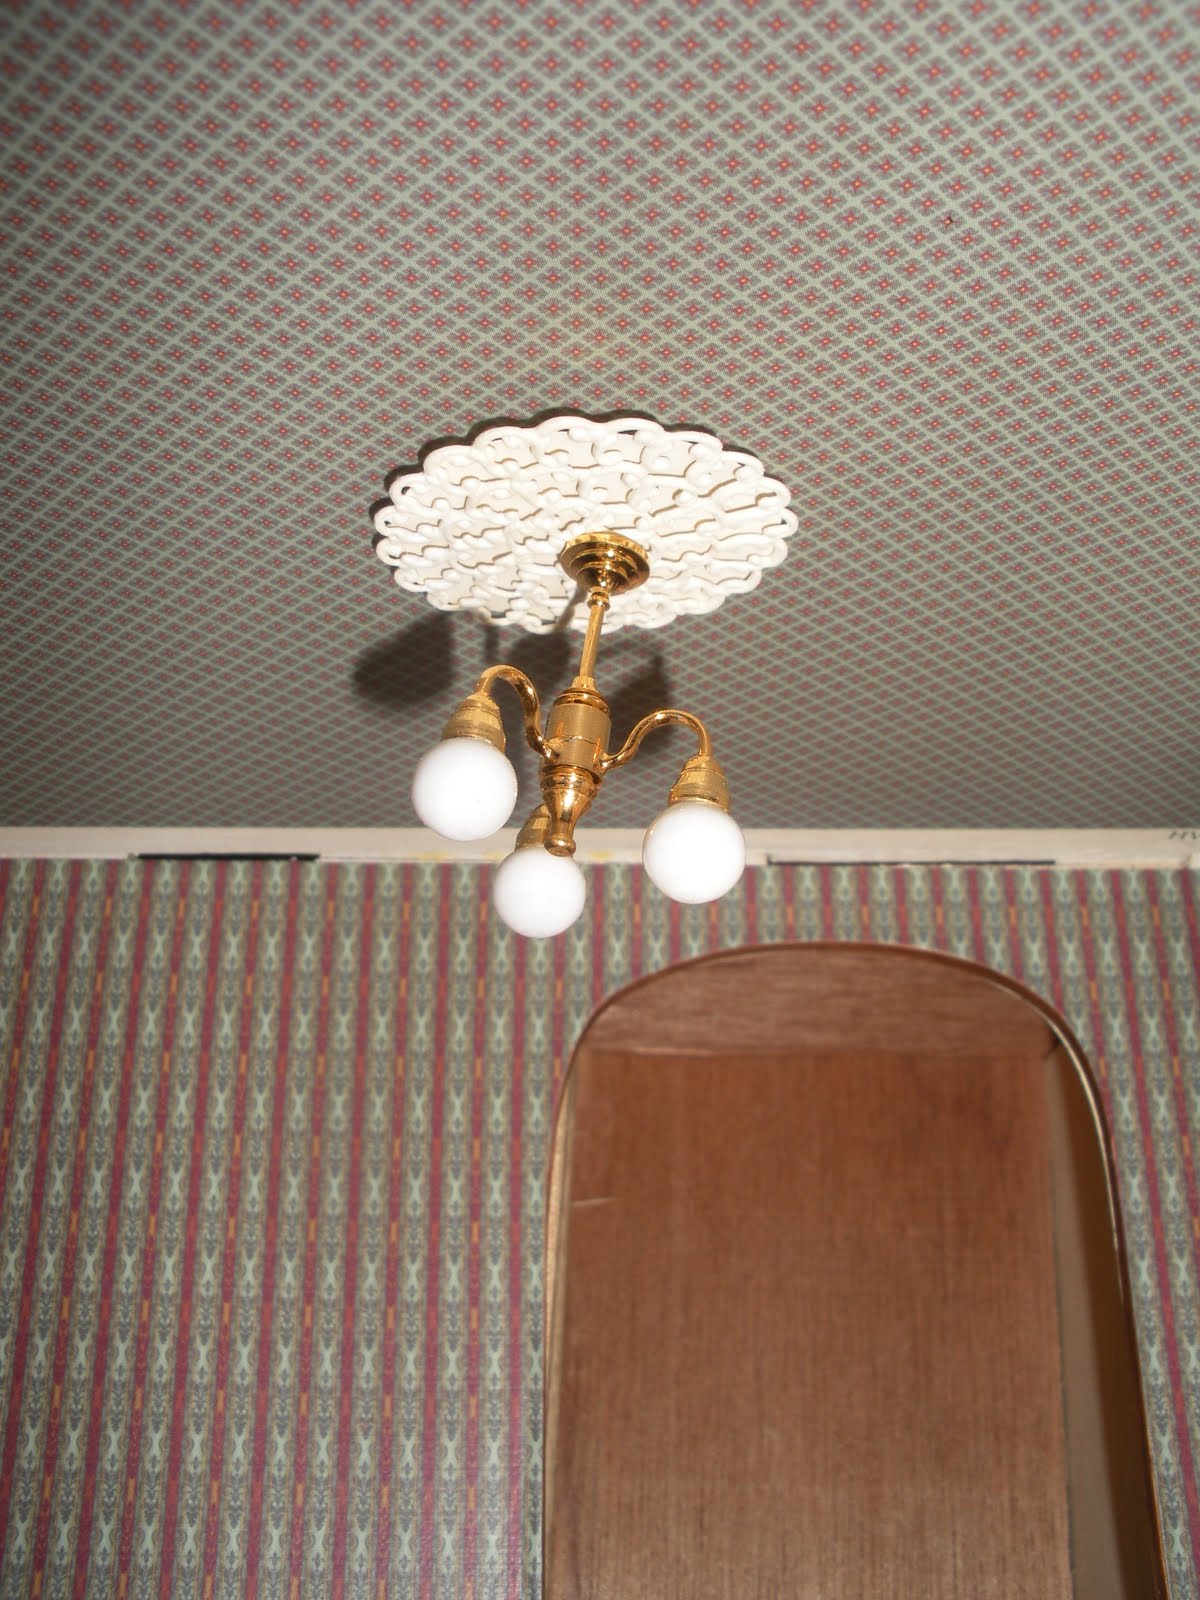
1 Three Arm Globe Chandelier - for the parlor
3 Round Globe Ceiling Lights (1 for the secret tower room, 1 for bathroom, and 1 for upstairs hallway)
Lastly I bought kits for the fireplaces so that they will be lit and flickering.
All the lights are by Houseworks. 
Lighting Selections

Sunday, May 15, 2011

This is the beginning...

This is the beginning of a exciting half scale project the Fairfield dollhouse by Greenleaf. This house has a wonderful floor plan! It has 6 rooms, a secret tower space, and a spacious attic. My vision for this house is to go truly Victorian. Piece by piece over the next many months I will share my progress of this project. Their will be many challenges, ups and downs but in the end it will be worth the work.

Step 1: Purchase the kit